Painting the Panther PNT-9R
The Panther is one of my favourite Mechs. Not only because it is essentially a fast moving PPC which can even jump but because the design looks great. My first idea for a color scheme was a blueish grey. A lot of inspiration for painting BattleMechs can be found on www.camospecs.com and indeed I found a great scheme there which worked as my guideline.
Step 1 – Basing and Priming
The model was already partly primed in black when I got it. For decoration I filled the base with White Pumice (Vallejo), put in some small stones and left it to dry for overnight.
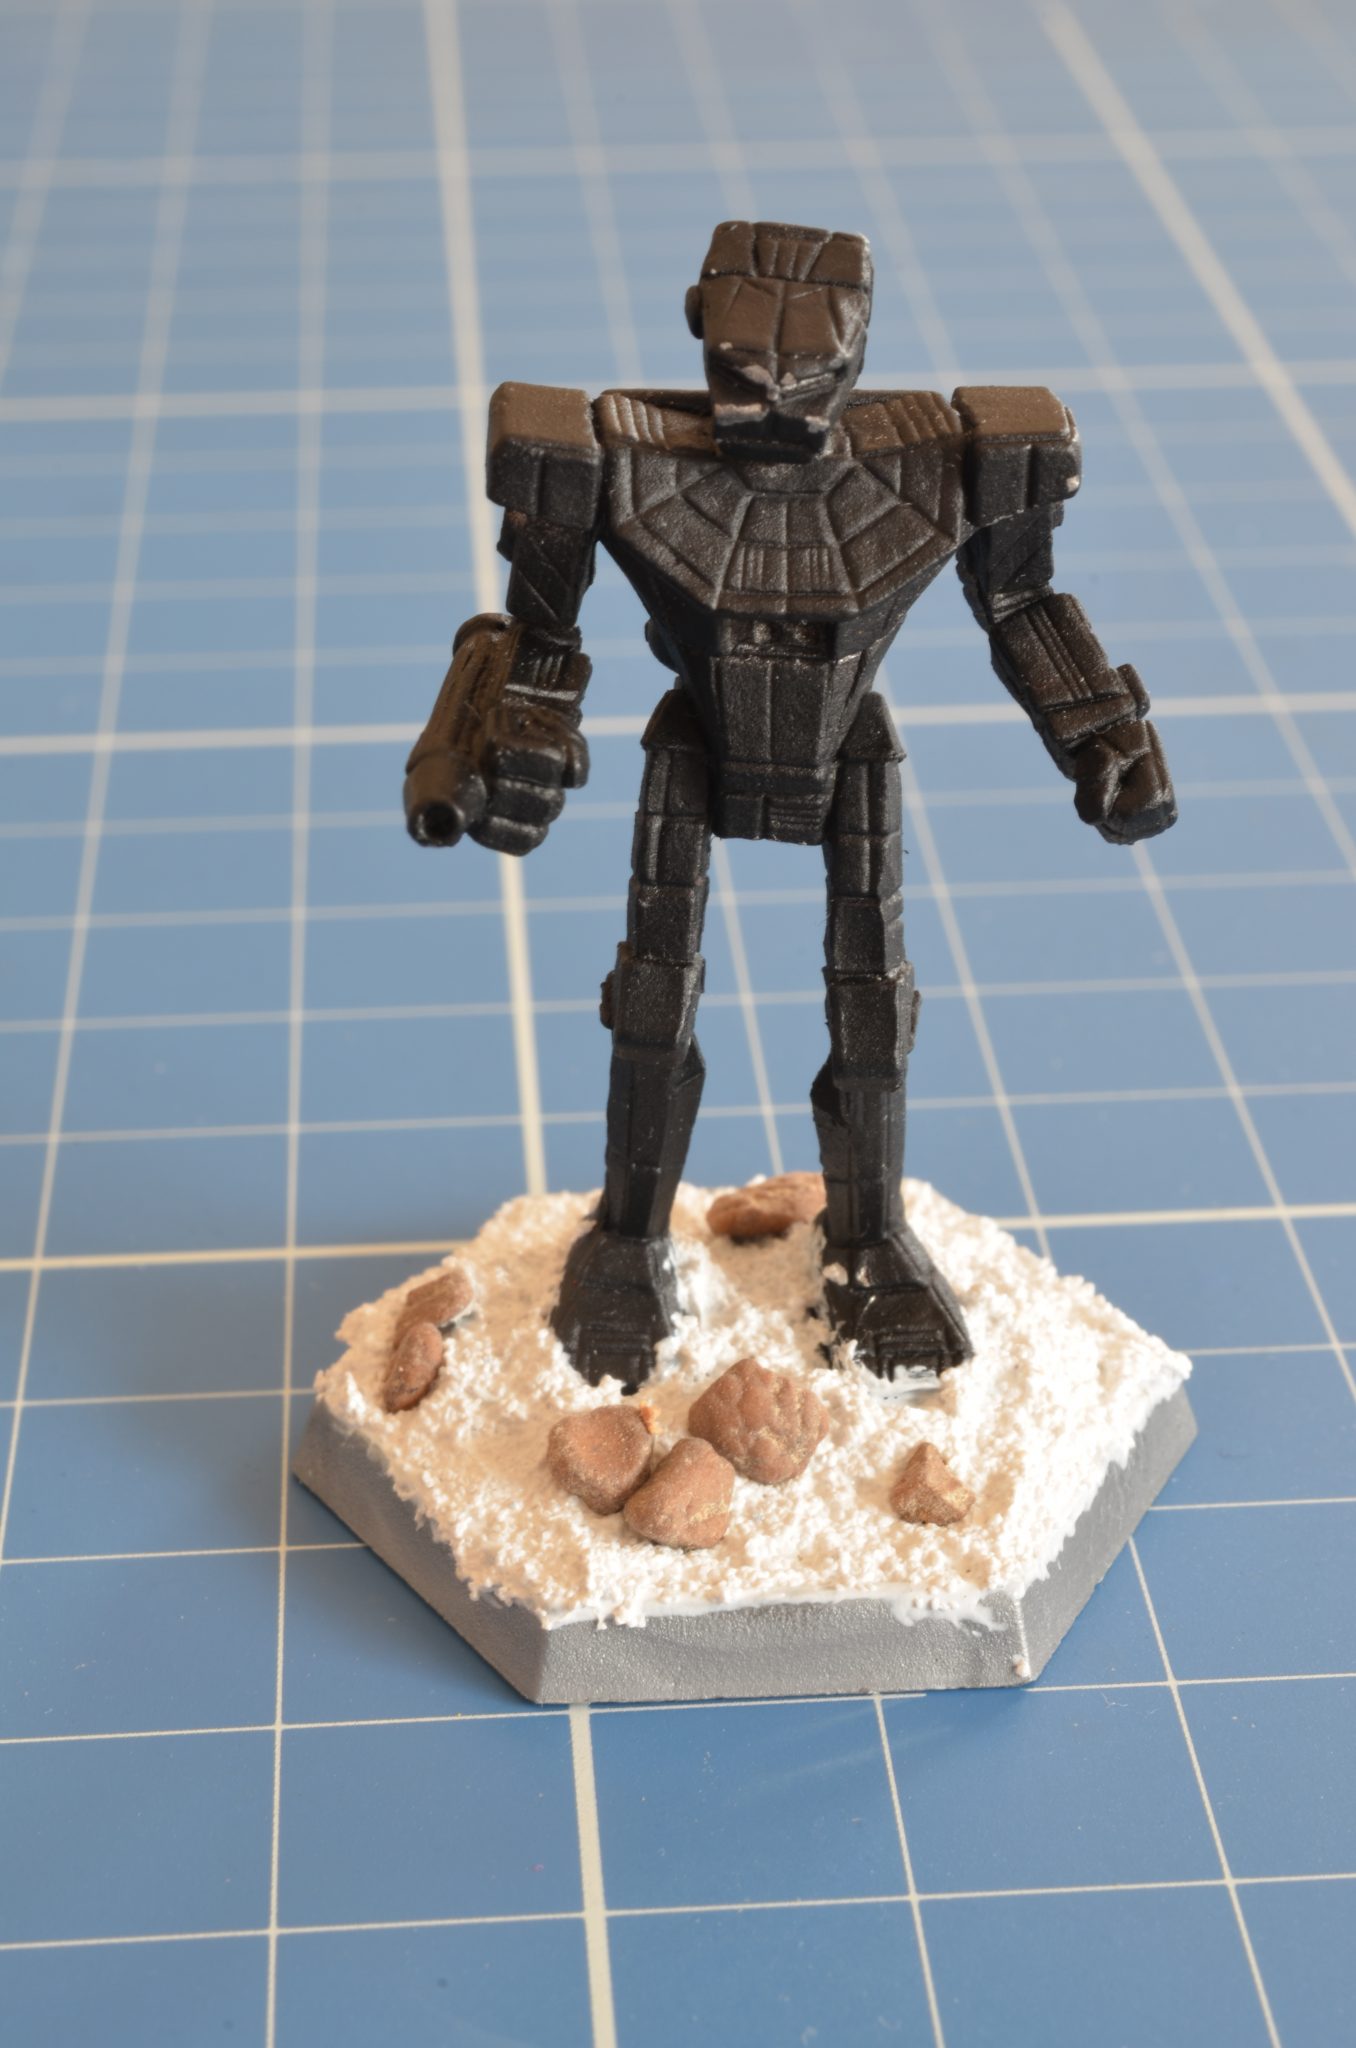
Next day I primed the base and the rest of the model with a brush in Chaos Black (GW).
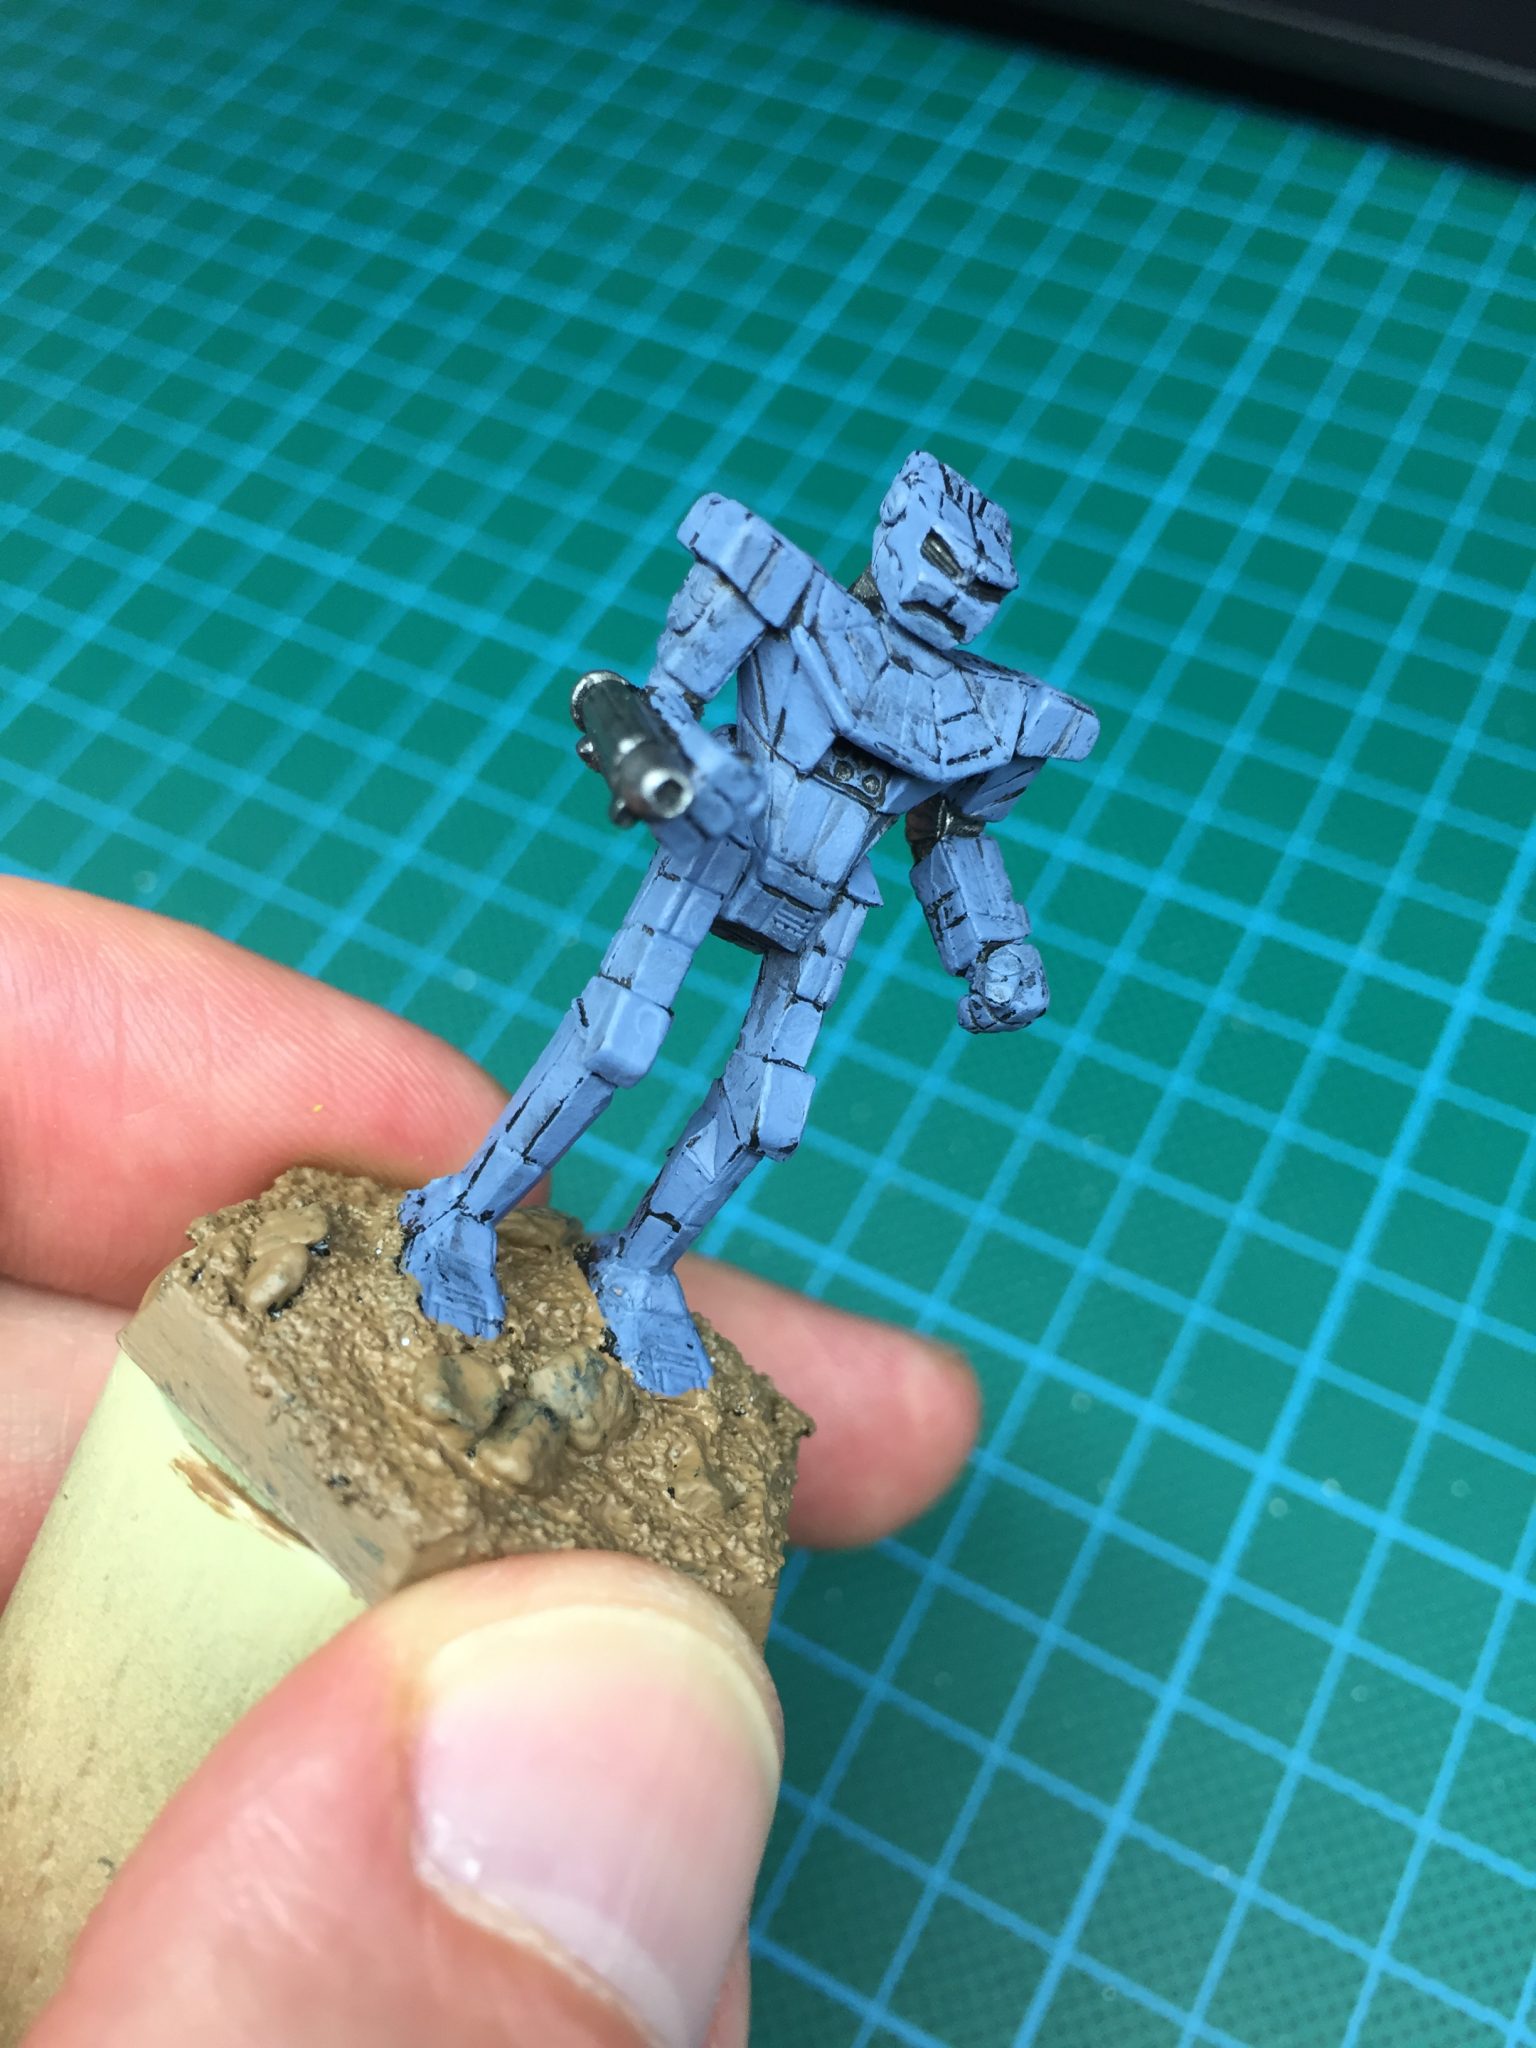
Step 2 – Basecoating
The armor plates were painted with Sombre Grey (Vallejo GC48) while leaving out the inner parts of the joints (knees, arms, neck), the PPC and the panel lines of the armor as good as possible. I did not mind to achieve an even coloured surface on the armor plates. A tall construct like a BattleMech will never look brand anyway new in times of fighting and an uneven color adds to the effect.
The inner parts of the joints, SRM frontplate, the „balls“ on the backside (Whatever their purpose might be!) and the PPC were painted in Boltgun Metal (GW). The base got a layer of Graveyard Earth (GW).
Step 3 – Shading
The model was given a generous coat of Army Painter Quickshade „Dark Tone“. These washes are great to achieve a quick good looking effect of depth.

From this point on you already have a nice looking miniature. Give it a coat of varnish, glue some green on the base and it would be ok for any gaming table.
Step 4 – Basecolours
To break up the monotony of the basic grey, I painted certain armor plates with Enchanted Blue (GW). The eyes were painted Mechrite Red as a base colour, covered by Blood Red and with a tiny spot of White in the corner of each eye. The PPC got some Sunburst Yellow (all colors GW) in its muzzle.
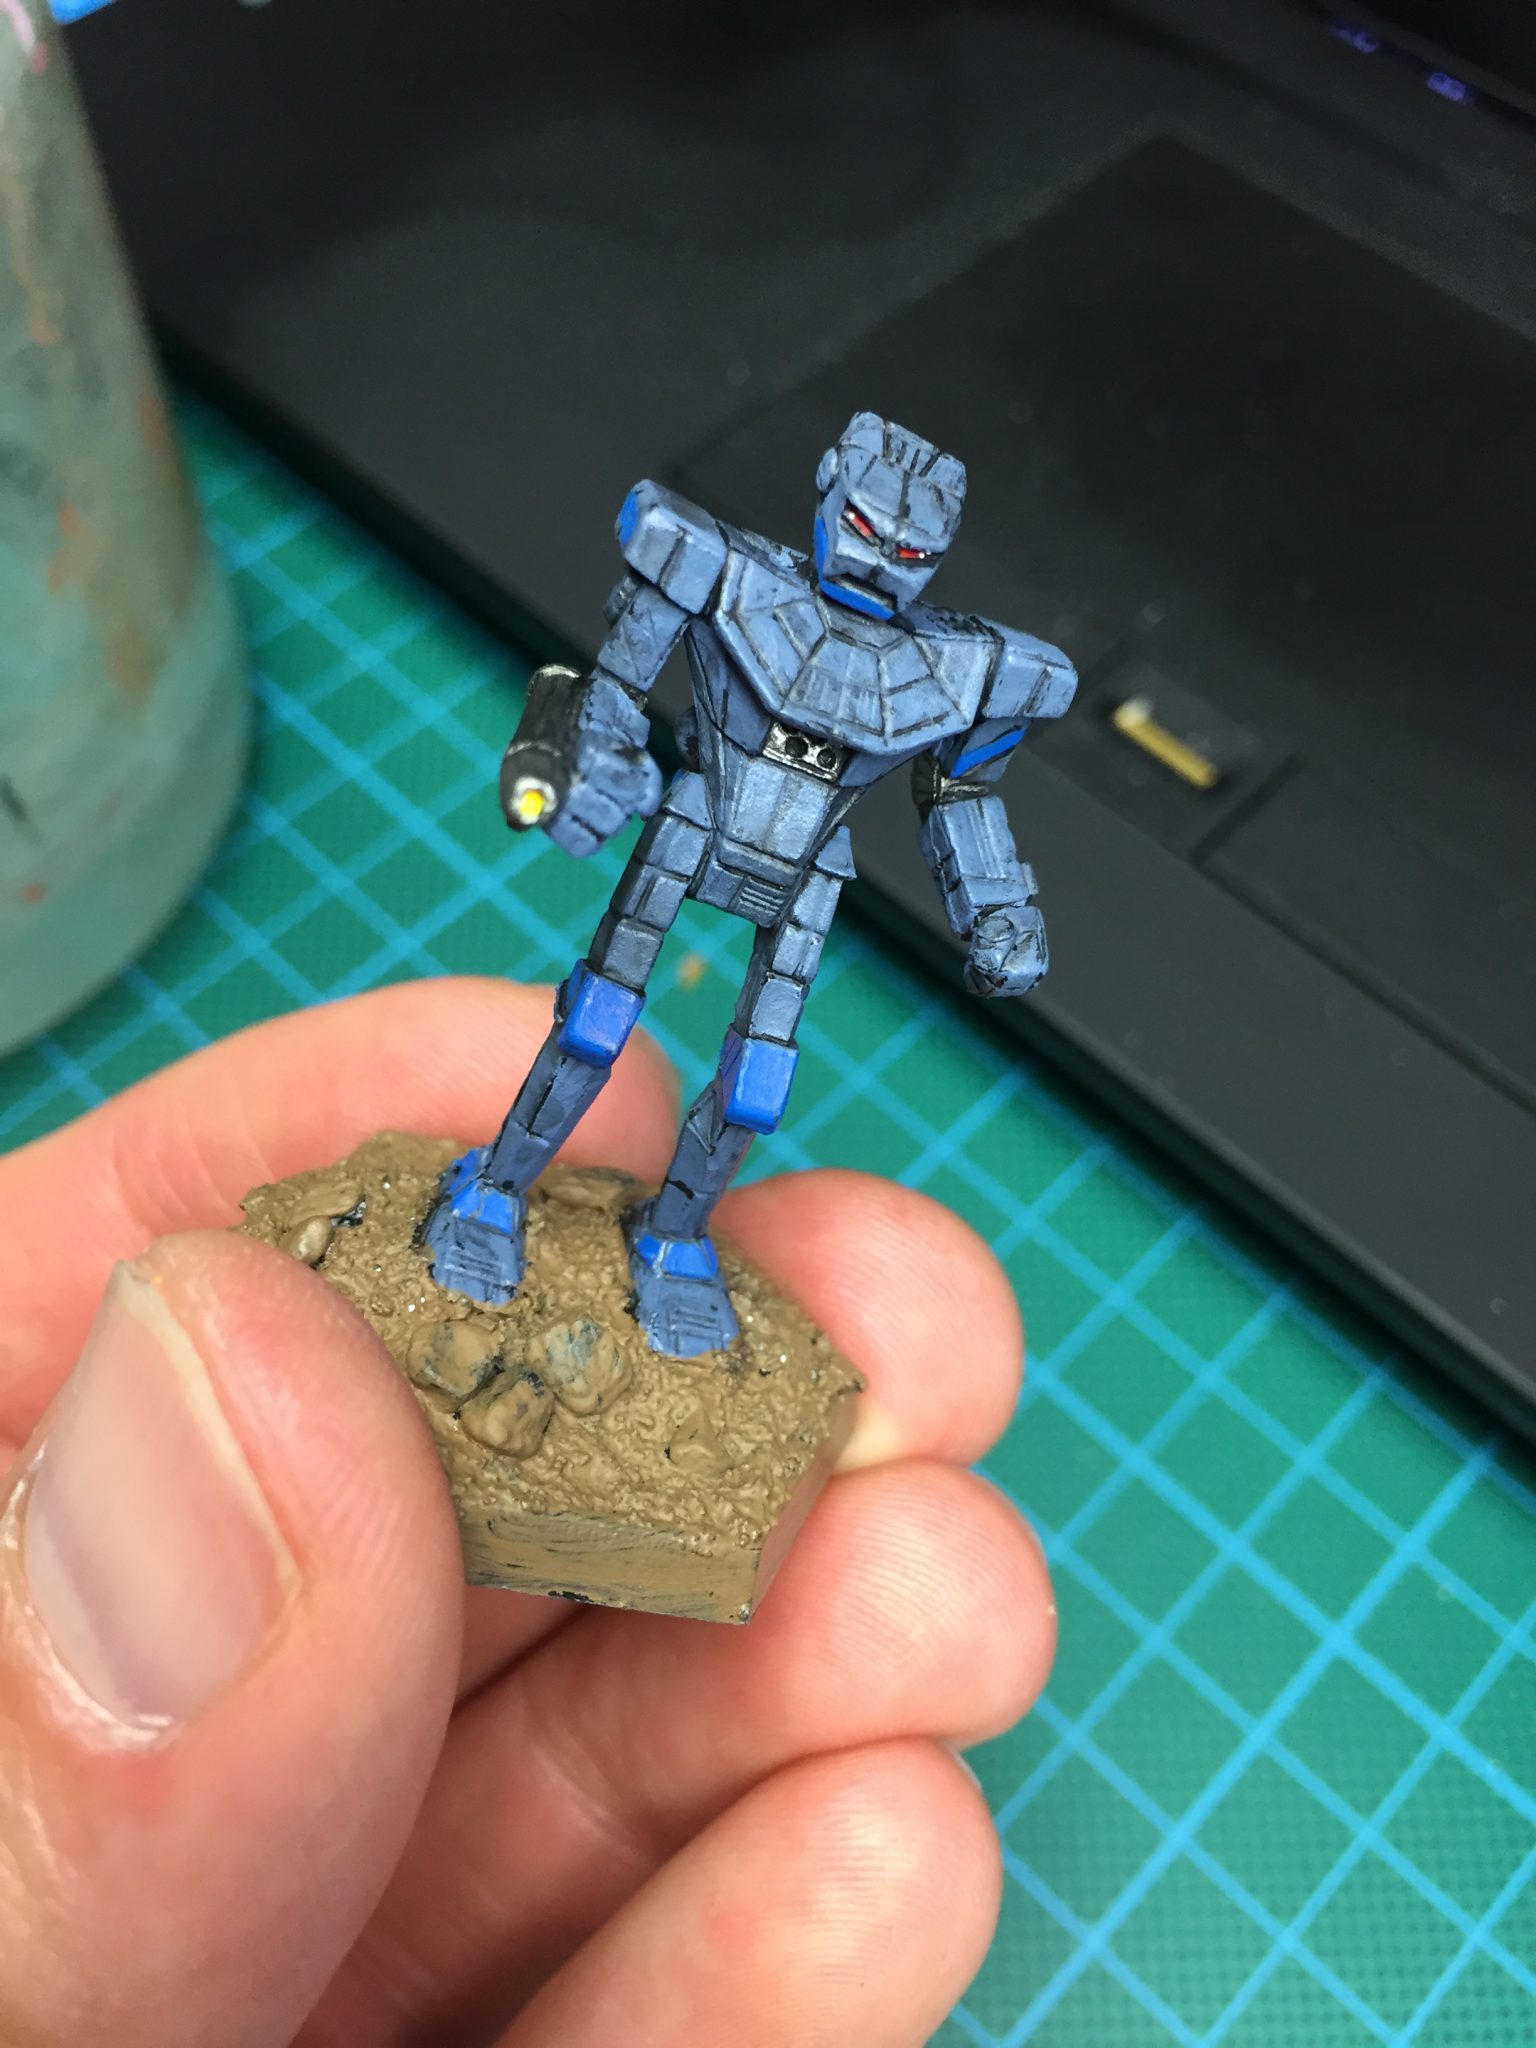
Step 5 – Highlights
In order to save time I usually do only one layer of highlights. To my mind this is enough for gaming purposes. In this case, highlighting was a mixture of painting the edges and drybrushing. Armor was highlighted/ drybrushed with Space Wolves Grey (GW). For the metal highlights I used Chain Mail (GW).
Step 6 – Final Steps
The base was drybrushed mit Dheneb Stone (GW). I didn’t mind when the Mech’s feet „got dirty“ with the colour. This adds to the realness because Mechs in combat should have a dirty look about them, anyway. After that the margin of the base got a second layer of Graveyard Earth to achieve an even surface and mask some excess of Dheneb Stone. Finally, as a test, I put on Army Painter Quickshade „Soft Tone“ on the „sand“ to give the base some more depth.
Finally, to give it some more life, I added two decals from my bits box, a unit symbol and a number. Before adding decals, I put on some gloss varnish on the spots where I will put them. This way they will stick better. After putting the decal on, I use some decal softener for better adhesion.
After drying I painted the Panther with Matt Varnish (Vallejo GC 70). In this case I put on a second layer, as matt varnish has a reputation of being less protective than gloss varnish. I can’t explain if this is true but I read it somewhere and better safe than sorry. I think this Kitty will be touched quiet a lot.
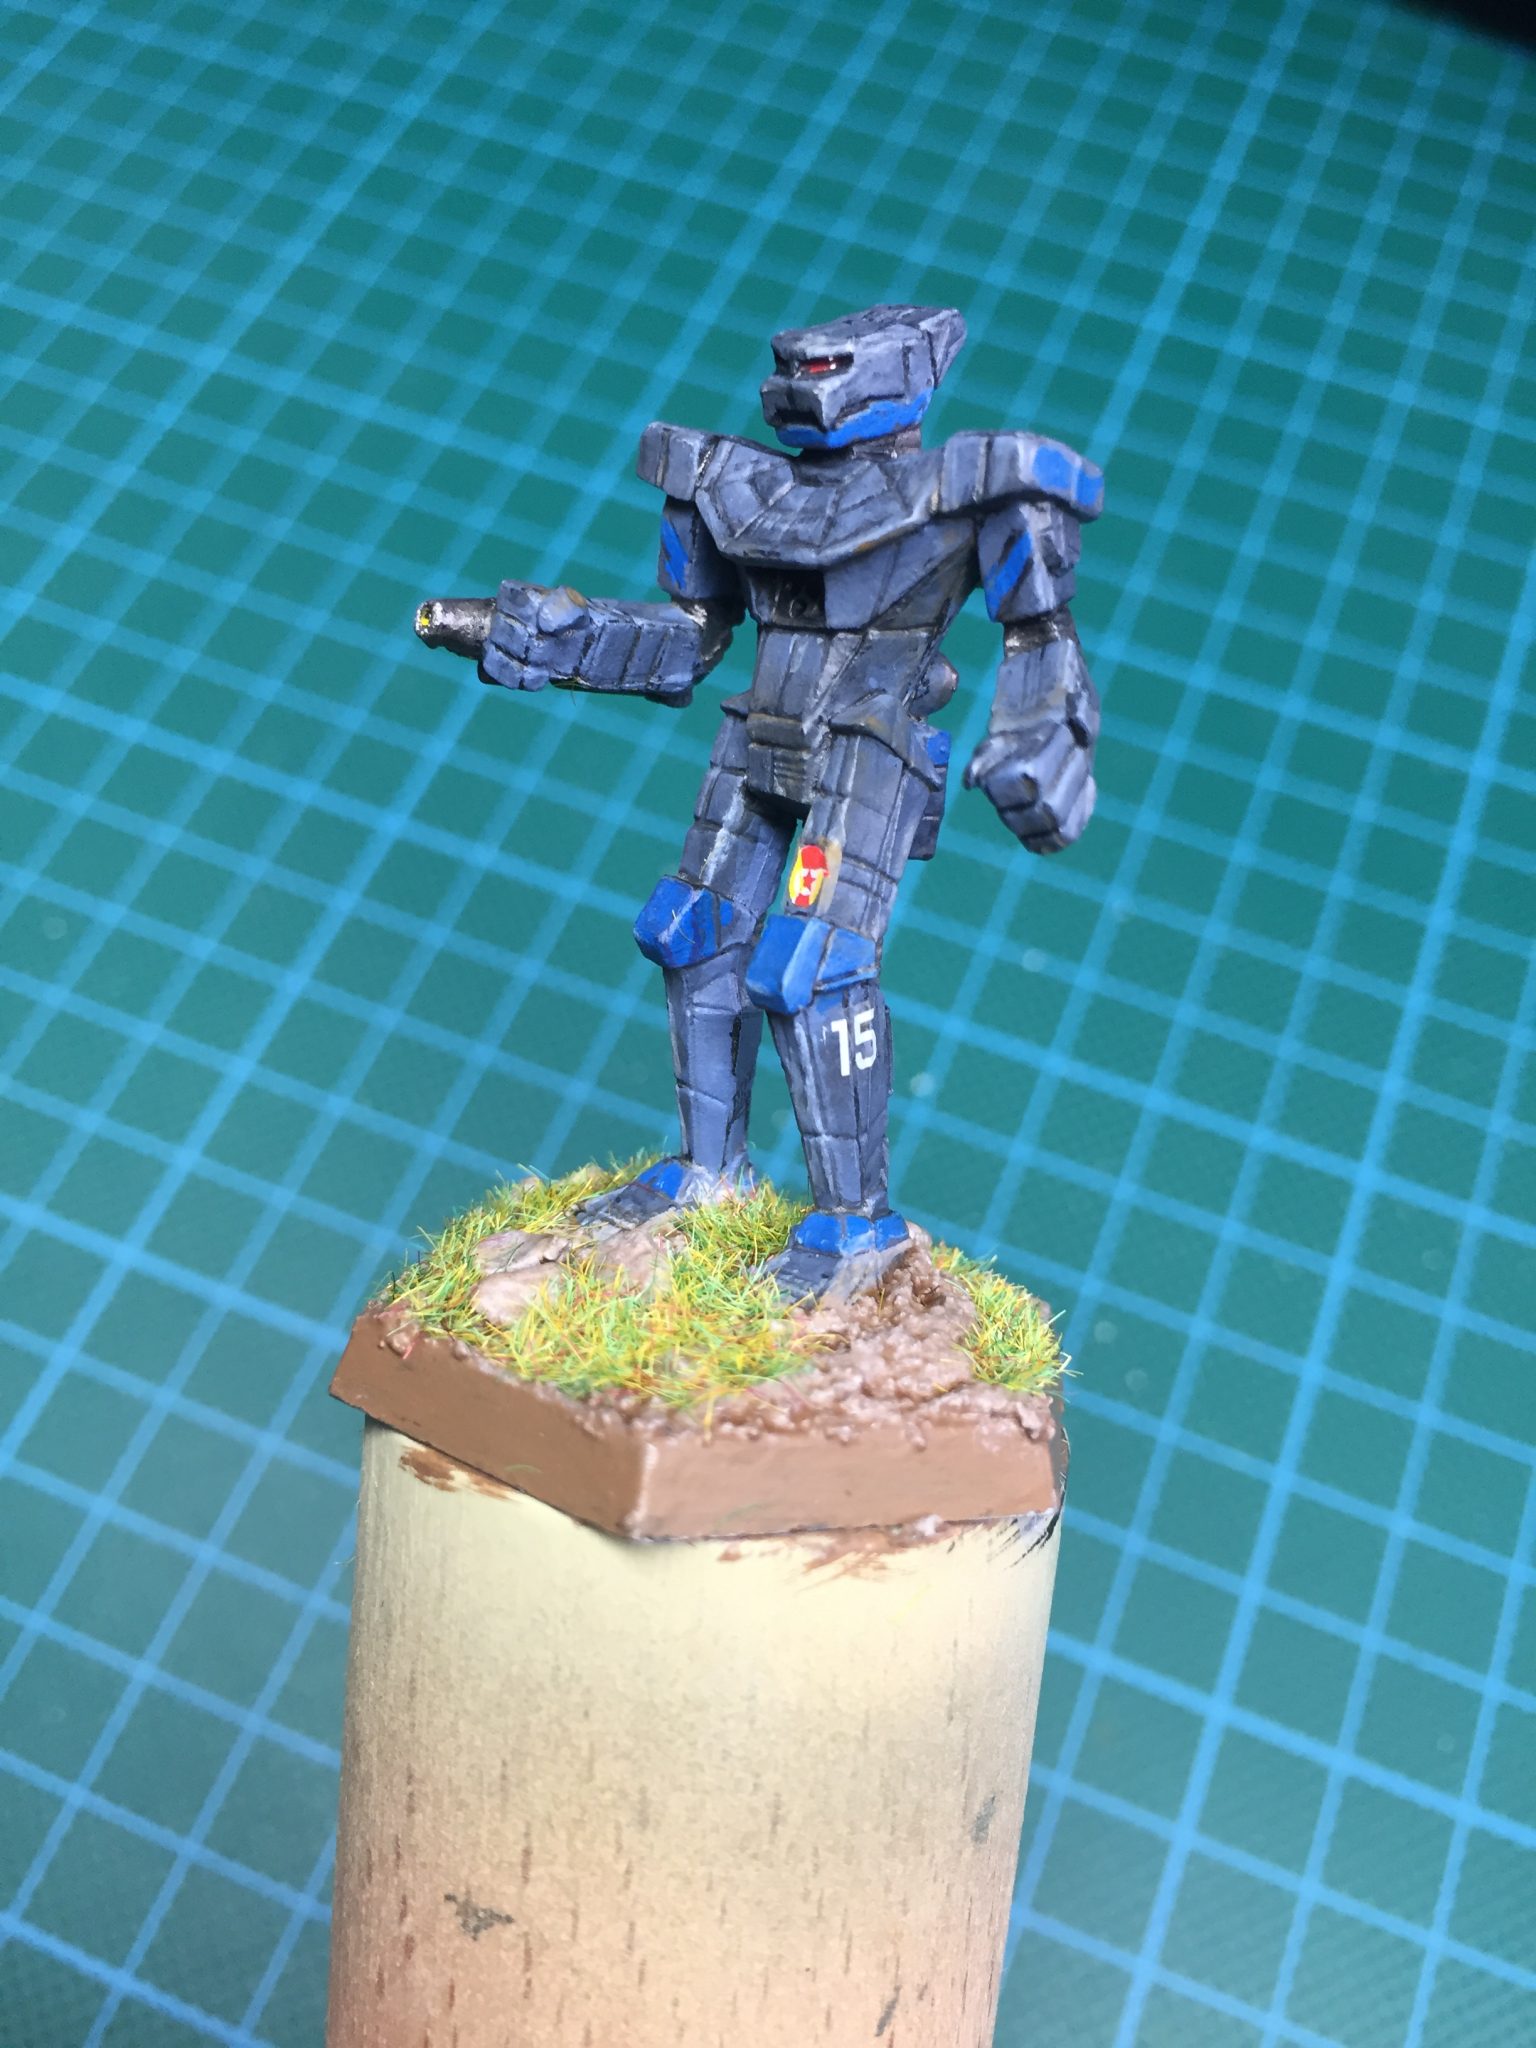
Some static grass glued on the base – done!
Conclusion
A rather basic style of painting but done in a reasonable amount of time. Generally I am satisfied with the result although some more highlights would probably have been nicer. After all, it’s done for playing and not displaying.