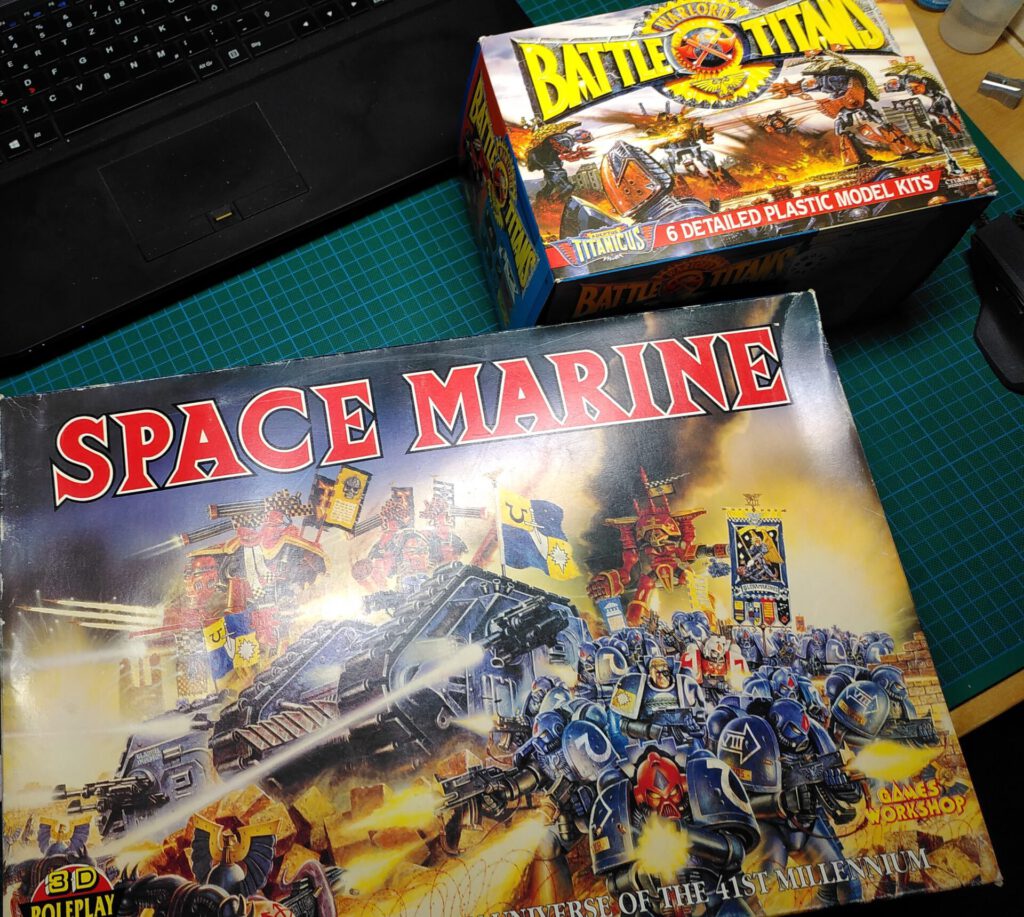
Adeptus Unboxicus
Earlier this year an old gaming buddy gave me his first-edition Adeptus Titanicus from 1988. This box rested longer with him than I know him. We never played it together but, as far as I know, it saw a lot of action.
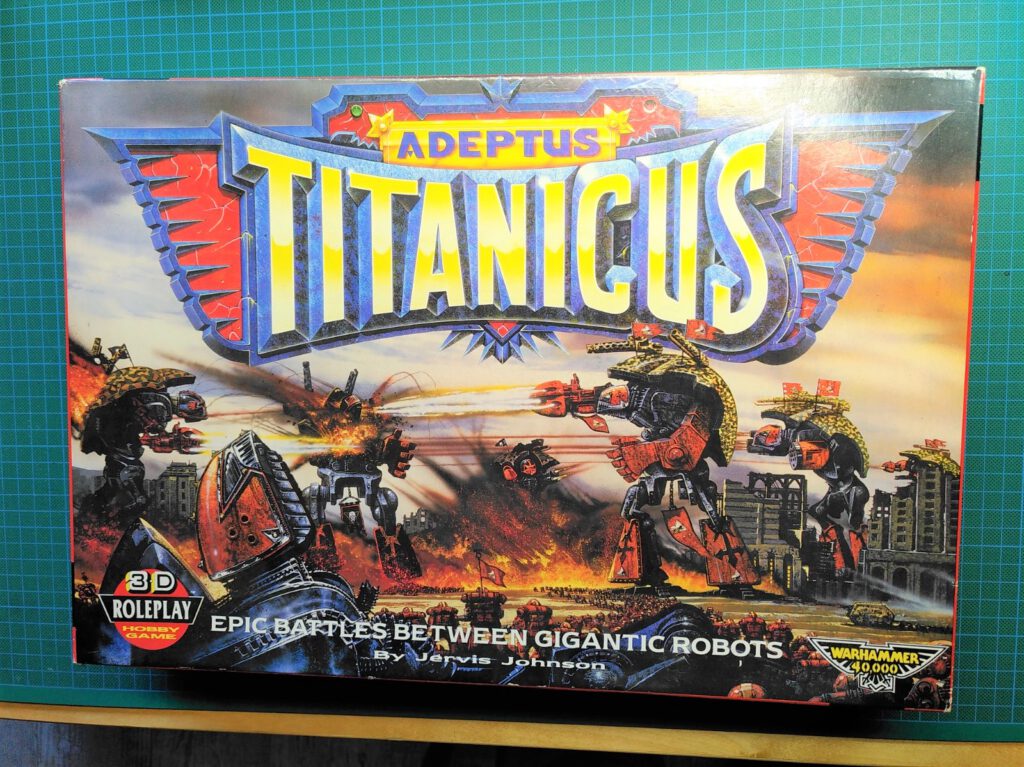
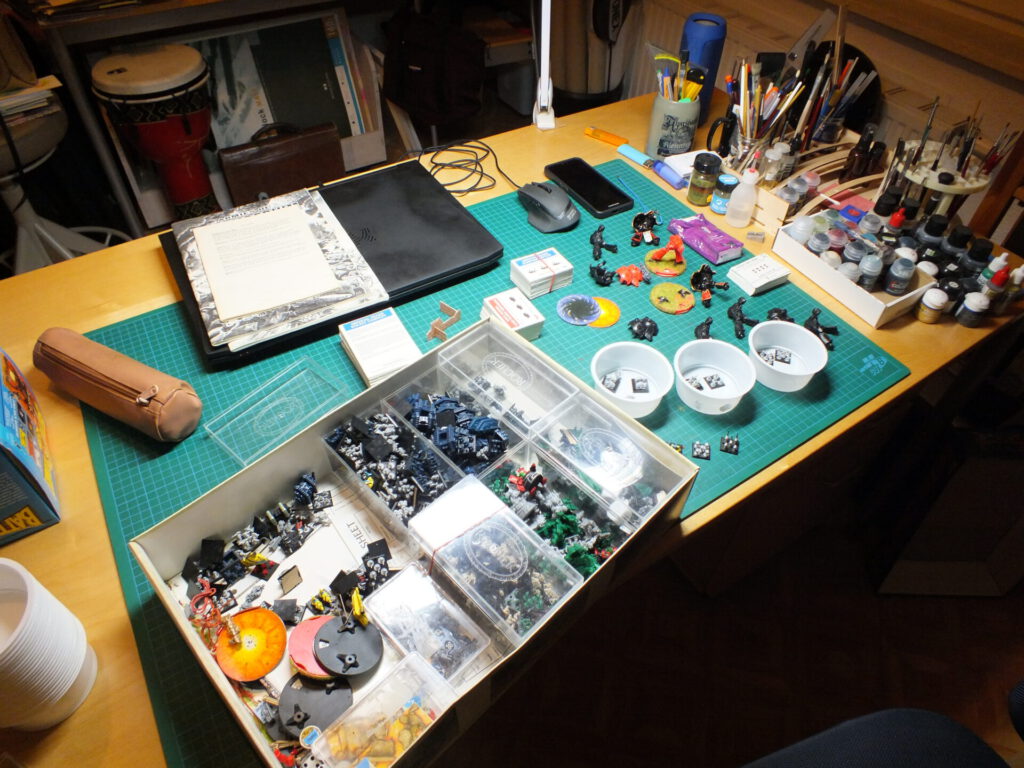
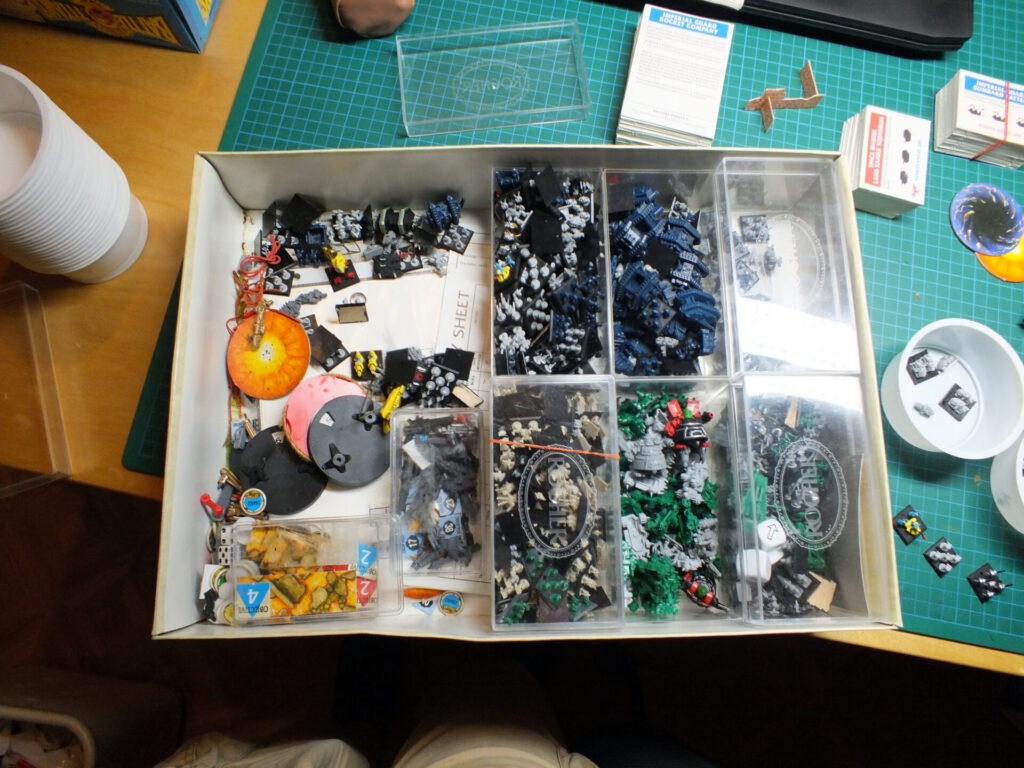
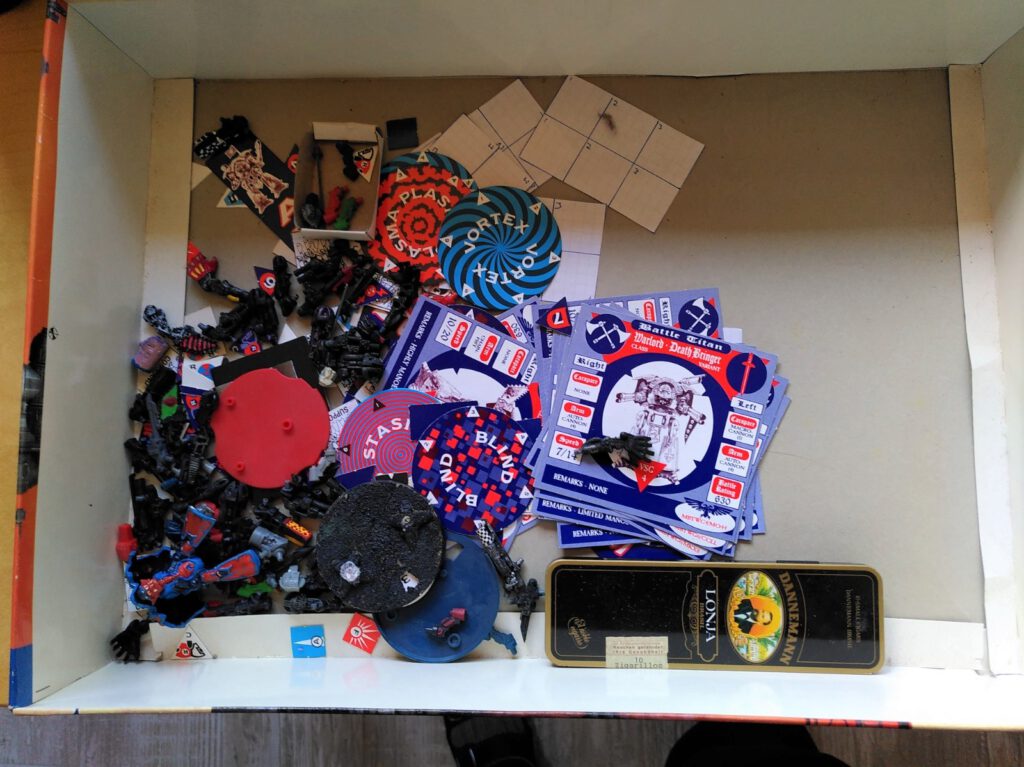
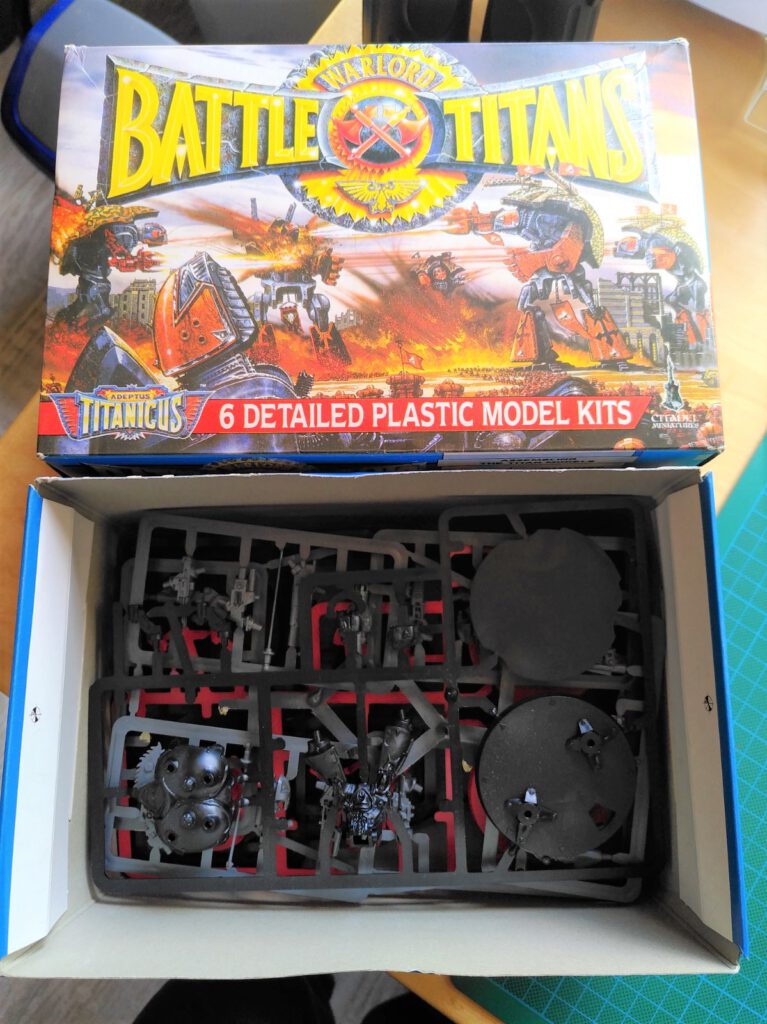
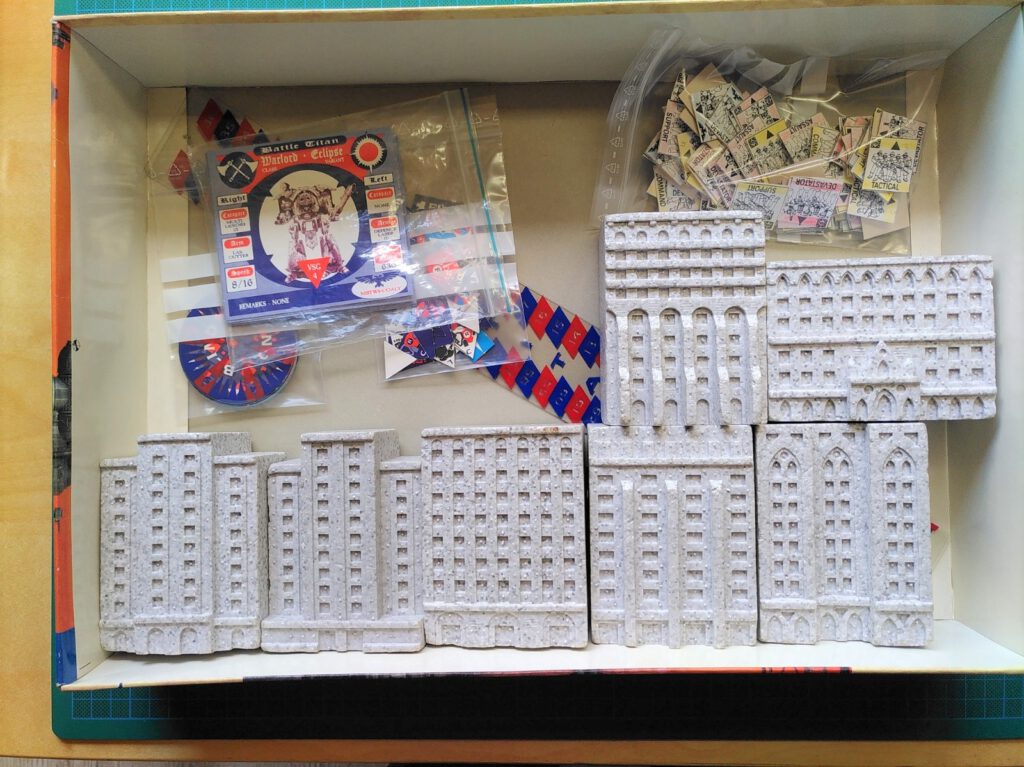
Today was the day that I opened the box for deeper inspection. However, I was already warned that there wasn’t much left in the box, namely the rulebook and the Titan models.
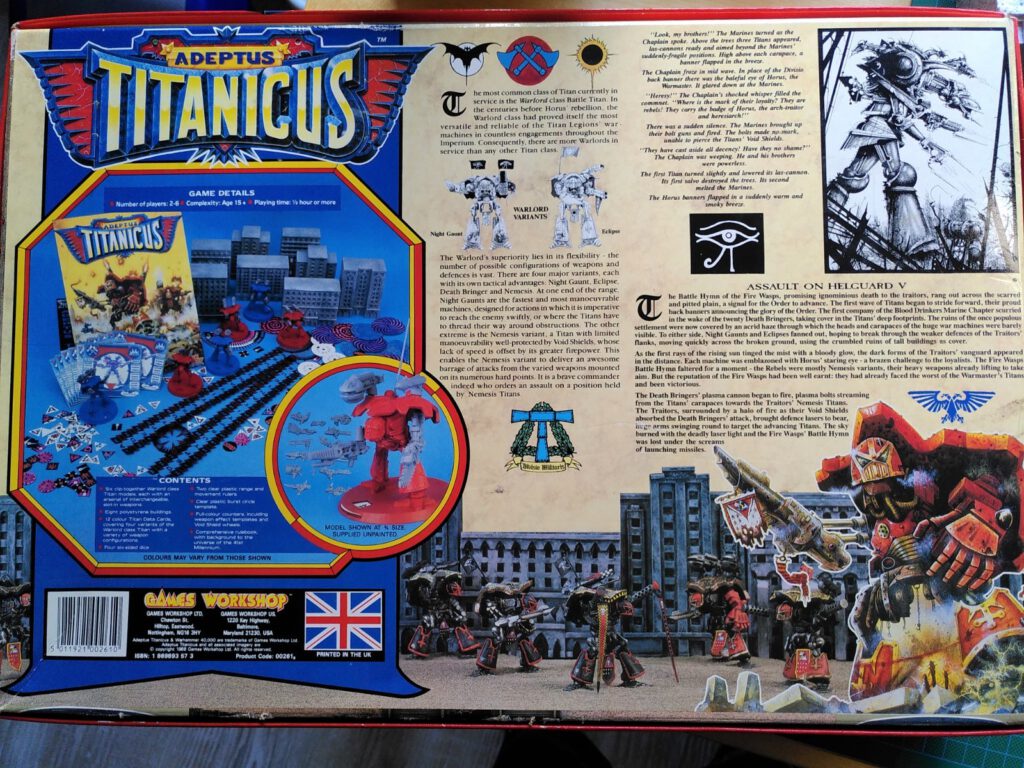
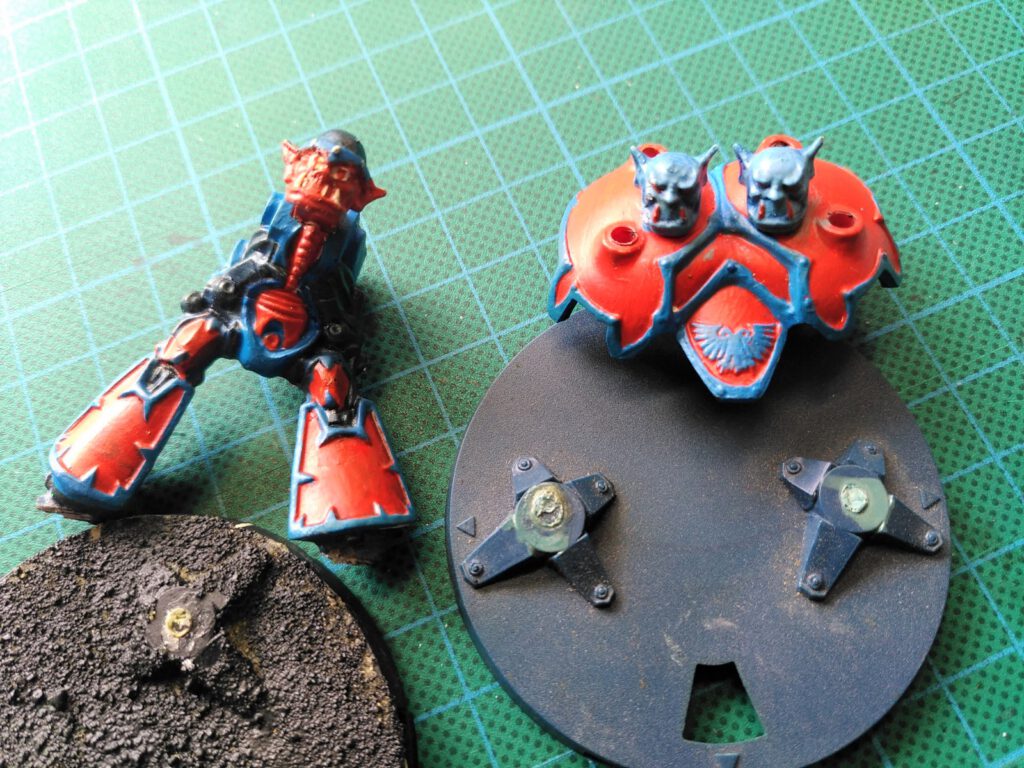
Strangely, when looking at the Titan models in the scenery on the back, you can see they are different from the usual old plastic Warlord models. Recognizable especially when looking at the legs‘ armor plates where you can find much more detail on the models in action. This difference is also true for the unpainted model in the circle which shows the standard model. Even in the old Citadel catalogues I couldn’t find a model that is exactly the same as in the scenery. An „unseen“ Titan?
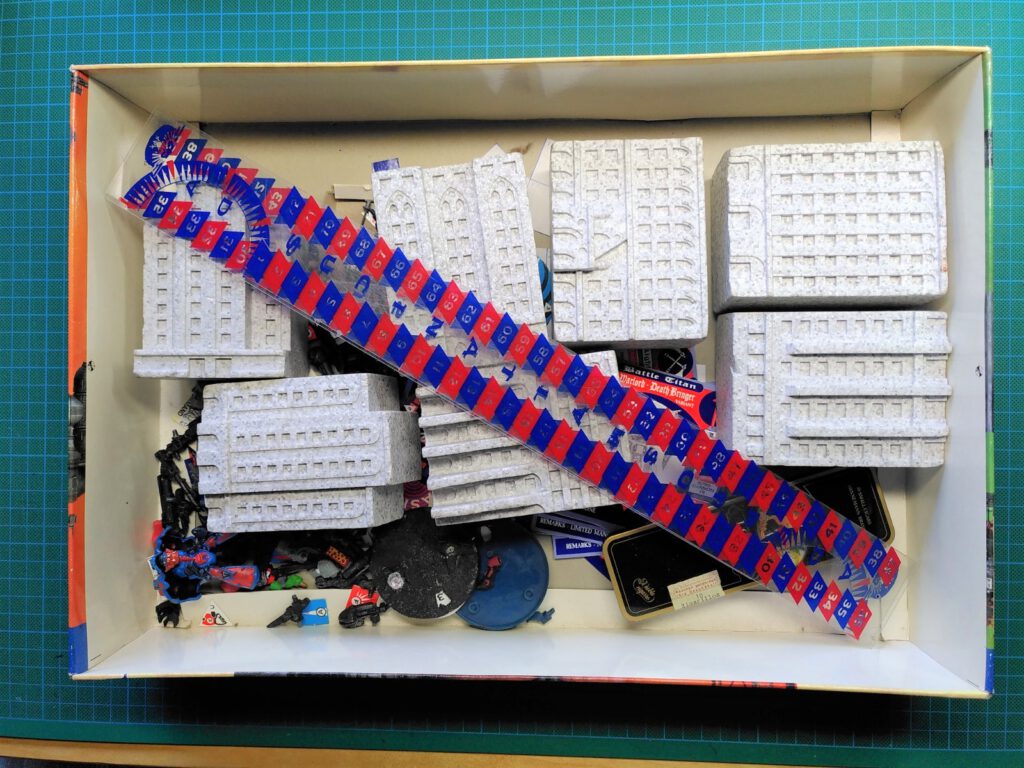
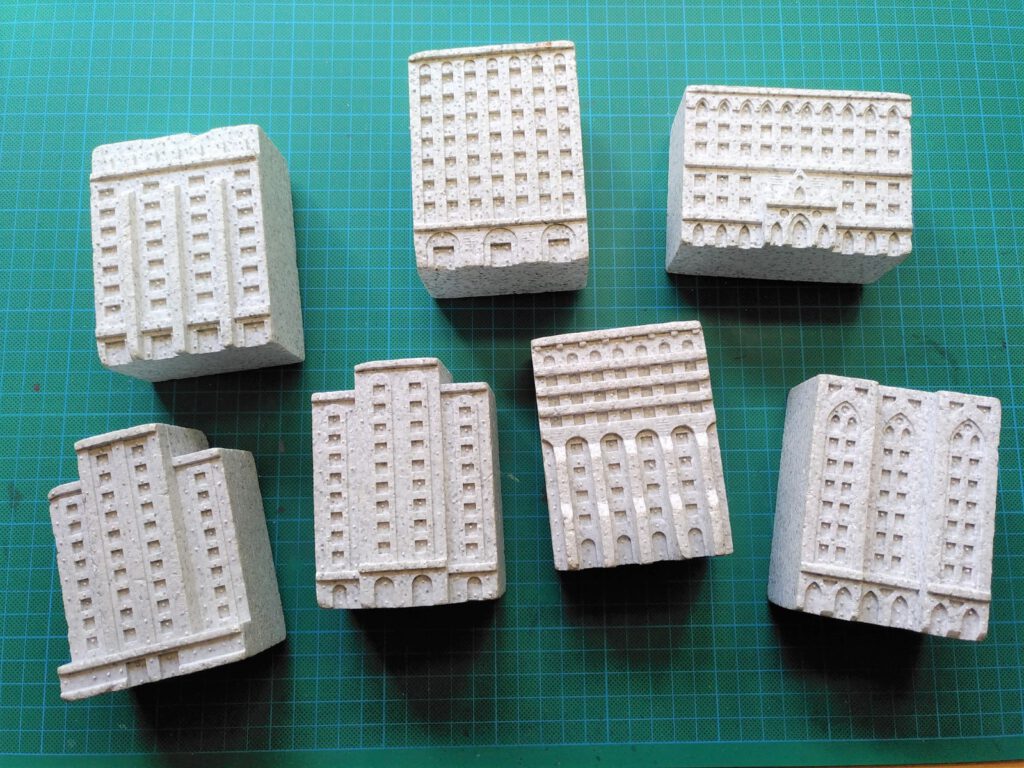
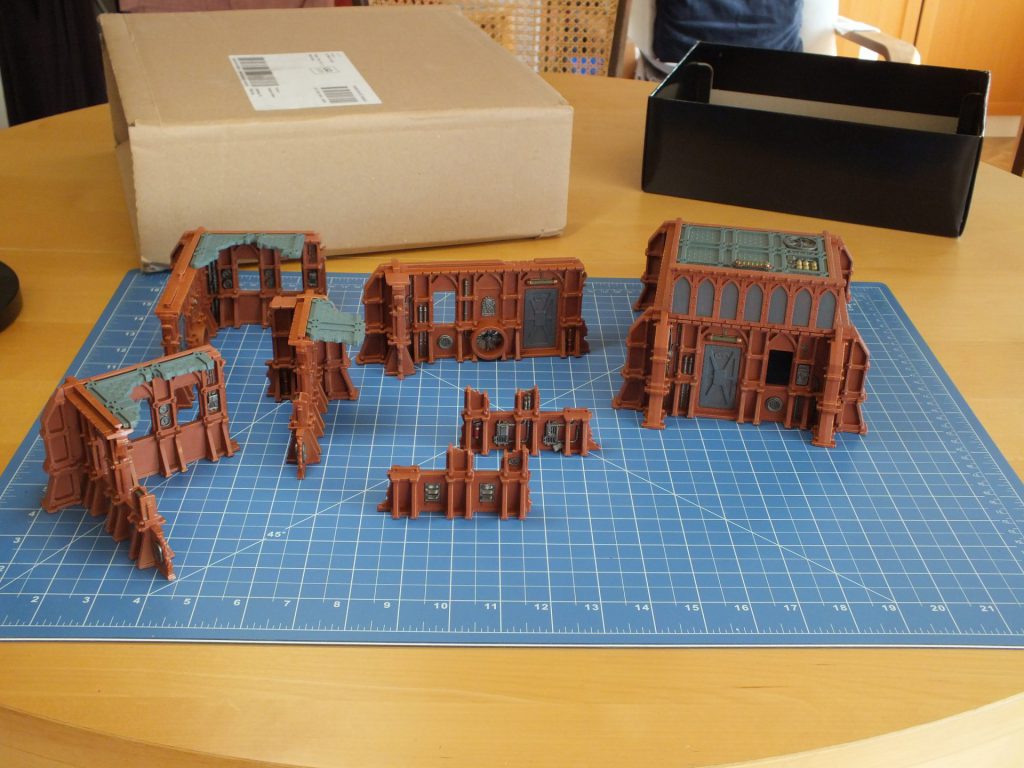
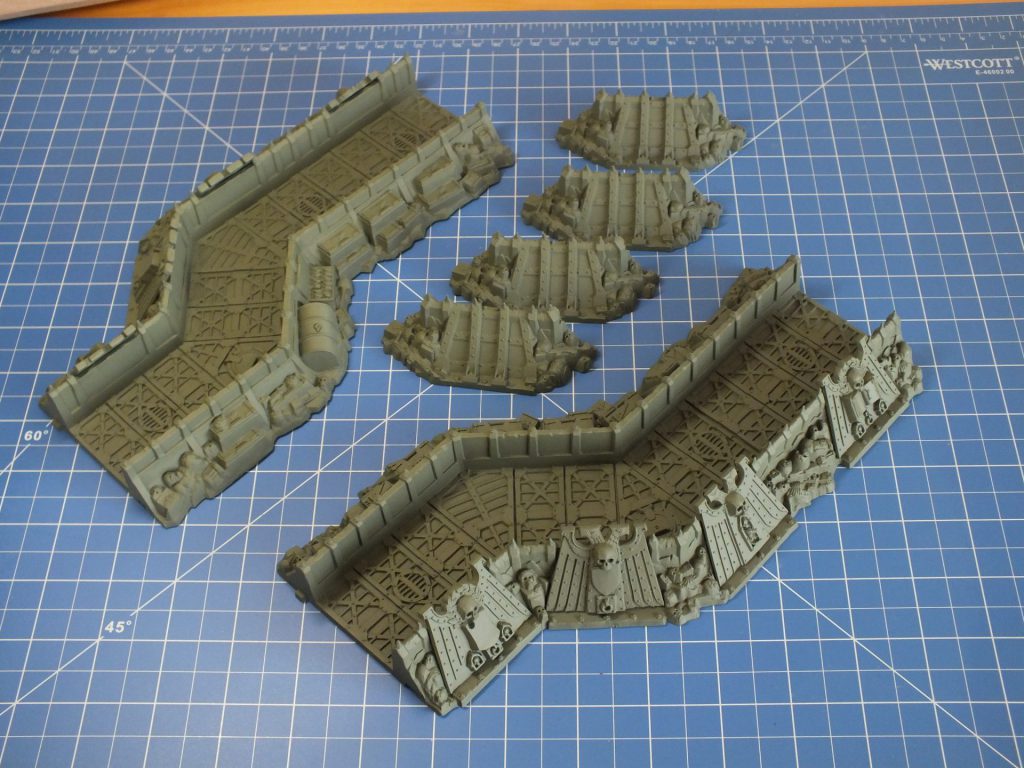
The big prize was the seven polystyrene buildings which are still in good condition. They will go nicely with the new AT buildings. I can’t see any difference in size despite the smaller scale of the old edition.
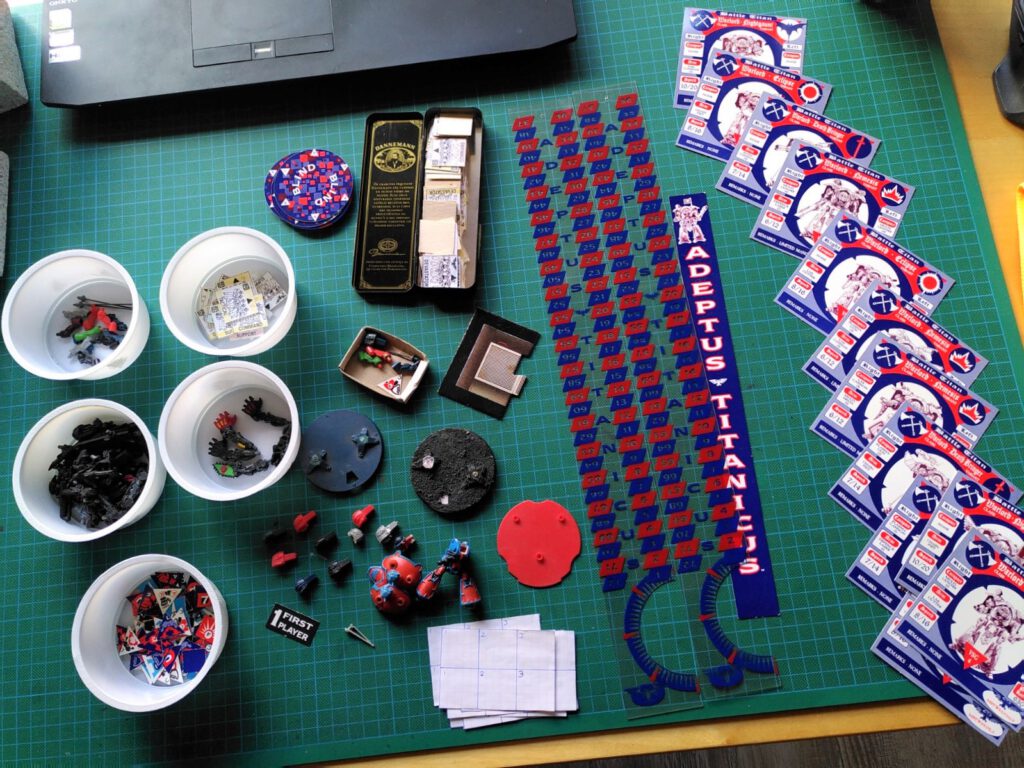
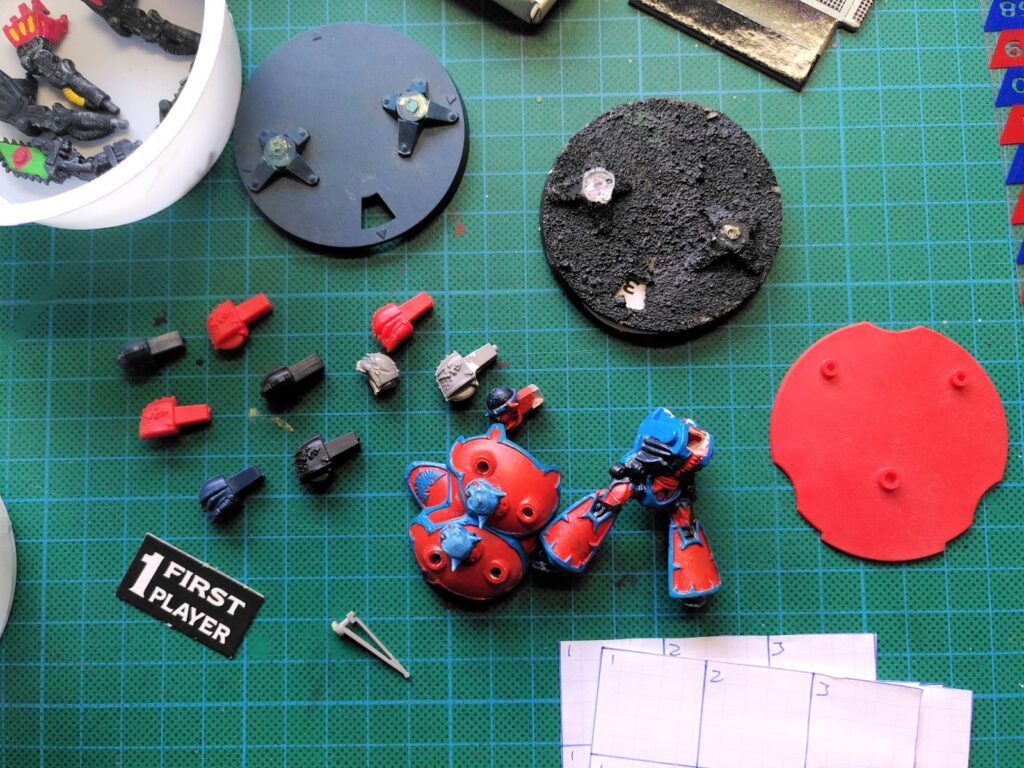
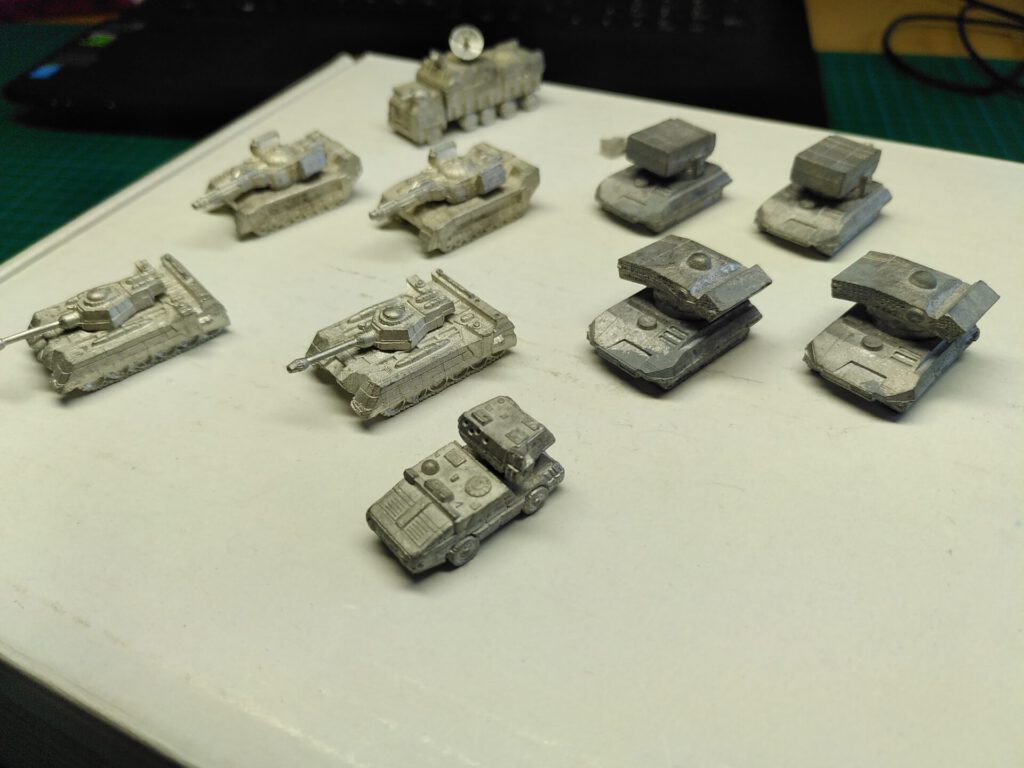
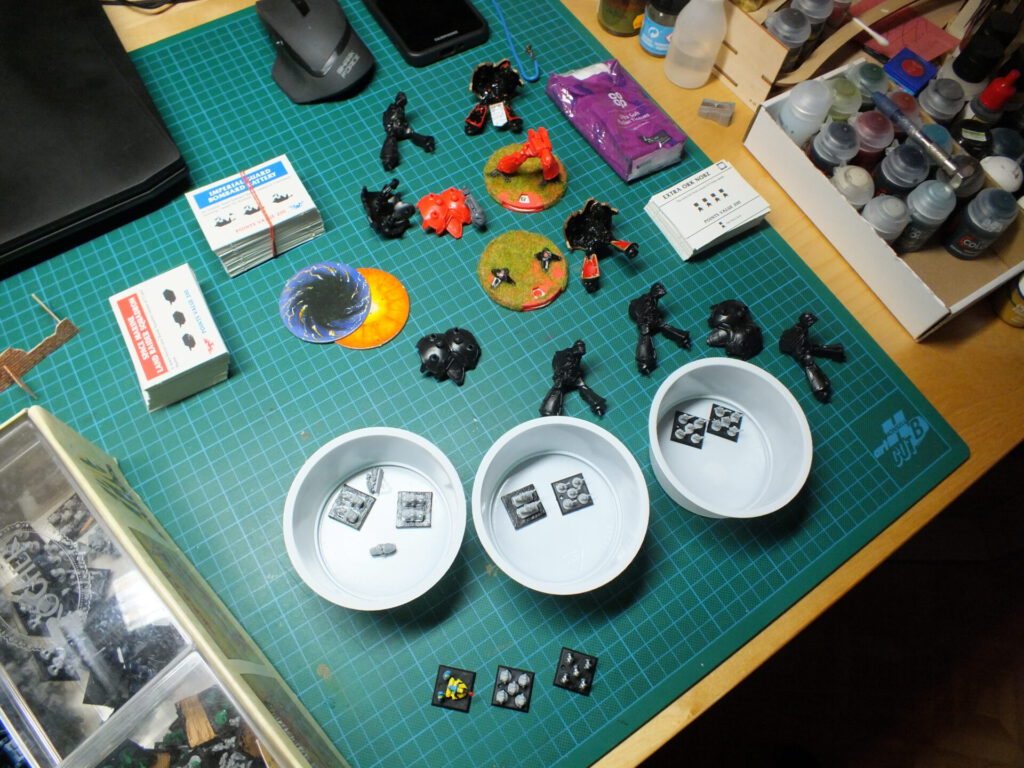
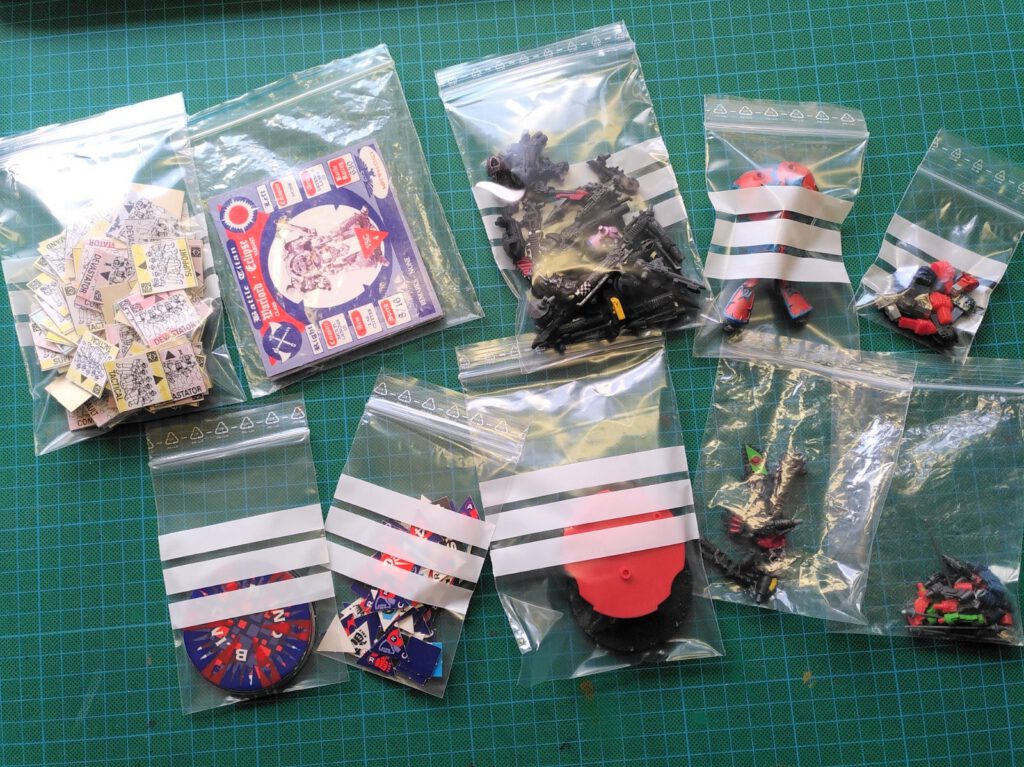
Only one Titan model was still in the box and I’m not really sure what to make of it. The bases can be restorated and there are a lot of heads and weapon options. No idea where all the Titans went but I have about ten of the old plastic Warlord models in my collection, in addition to some metal Reavers and Warhounds. Enough for epic battles!

Next step is to finish some of my Titans already under painting and play some solo games to learn the rules.
Cheers from here to an old gaming buddy who let me have his old stuff! The AT box was not the only thing. So more to come.